Having a home irrigation system in place can be a great way to keep your lawn properly watered while saving you the time and hassle of doing it manually. Unfortunately, many homeowners find themselves rather intimidated by the idea of having sprinkler systems installed on their properties because they're not confident in regards to their operation and maintenance.
Specifically, understanding how to adjust sprinkler heads, as needed, is a must for any homeowner with an irrigation system, as being able to do so can ensure that the lawn receives even water coverage and that there's no over-spray in the process. Read on to explore how to adjust traditional sprinkler spray heads in addition to Signature- and Hunter-brand rotor heads. Many homeowners are relieved to find that learning how to adjust sprinkler heads is easier than they think, regardless of the specific type or brand they're working with.
How to Adjust a Sprinkler Spray Head
There are many reasons why you may need to learn how to adjust a spray head. Most commonly, this will occur when the heads are spraying onto sidewalks/walkways or when your lawn simply isn't receiving the proper coverage.
Fortunately, adjusting a spray head is pretty simple, in most cases. At the top of most spray nozzles is a small screw that is used to adjust the head itself. Using a small screw driver, you'll need to either tighten or loosen this adjustment screw to achieve your desired results. Generally, if you're having a problem when it comes to over-spraying, then you can turn the screw clockwise to reduce the amount of water pressure. A counter-clockwise turn will yield the opposite results.
You can also turn the screw to adjust the direction of the spray on your lawn, ensuring even water coverage throughout the year. The video below shows how to successfully adjust a spray head nozzle.
How to Adjust a Hunter Rotor Head
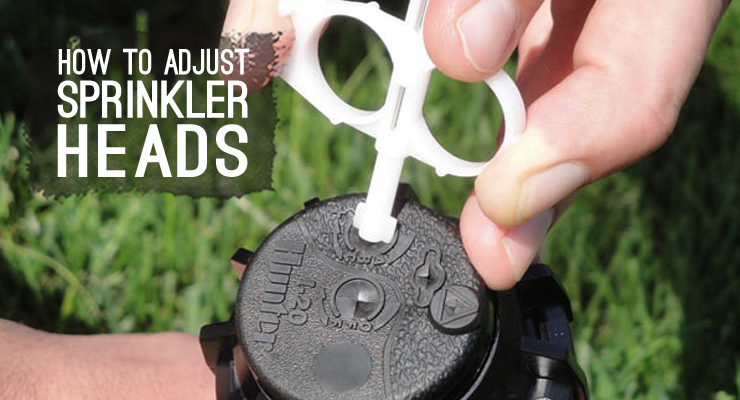
You will need a Hunter adjustment key to increase/decrease your arc as well as change the direction of your spray. If you need a key, it can be purchased here.
To increase the arc of your Hunter rotor head, you'll want to insert the plastic key into the adjustment socket, which can be found on the top of each sprinkler head. Turn the adjustment wrench clockwise in a full 360-degree motion. This will increase your arc by 90 degrees each time you turn the wrench a full circle. This can be done until you reach a full 360-degree arc, at which point you'll no longer be able to turn the wrench and you'll hear a ratcheting noise.
To decrease the arc, simply turn the adjustment wrench counter-clockwise. Each time you do, the arc will be decreased by 90 degrees until the minimum arc of 40 or 50 degrees (depending on your specific model) has been reached. This may be necessary when you're looking to prevent over-spray or want to keep water from spraying on your sidewalks and walkways on your property.
I strongly recommend watching the video below that Hunter produced on adjusting their rotors.
How to Adjust a Signature Rotor Head
If your home irrigation system has a Signature-brand rotor head, then you'll need to follow a different set of steps to adjust the spray. These rotor heads use a unique system of click-set disks and memory rings to control arc and spray radius, so you'll need to remove the caps of each sprinkler head in order to access these small parts.
Specifically, the memory disk can be adjusted using the small plastic protrusions (or "collars") to set a new spray point. To increase the spray radius of a sprinkler head, then, you'll need to completely remove the black click-set disk and and then manually adjust the sprinkler until the nozzle is pointed in the center of your target area.
From there, when you go to re-install the black click-set disk, you can turn it upside down (so that the gray side is facing up) and adjust its collars to the desired angle of spray. This is great for making sure that you're not wasting water (and making enemies out of your neighbors) by needlessly spraying sidewalks and walkways during the watering cycle.
On the other hand, if you aren't getting even coverage out of your Signature rotor sprinkler head, then you can adjust the spray so that it reaches full-circle by simply leaving the black side of the click-set disk facing upwards and not adjusting any of the collars. This is typically the recommended setting for sprinkler heads that are located in the center of your lawn and away from walkways.

If you have a different brand of sprinkler rotor and need help learning to adjust them, you can contact our support staff or the manufacturer for assistance.